

Camera Settings Made Simple
Often, I find myself in situations where people ask me how to capture better images. While there's no magical recipe, I believe it largely comes down to skills, experience, and a keen eye for photography. However, knowing the basic camera settings is an excellent starting point. I say this as someone who initially overlooked them. I was eager to go out and shoot, focusing solely on bringing my creative ideas to life, and found the technical aspects of the camera uninteresting. But what I didn’t realize is that understanding camera settings was essential for bringing my creative visions to fruition. And voilà, my pictures slowly began to transform into what I envisioned.
Here's the most basic camera setting you need to know before embarking on your creative journey!
Aperture
You know those pictures where the subject completely stands out from the blurry background, often referred to as cinematic-looking pictures? Aperture plays a big part in creating that look. A smaller aperture (represented by a higher f-number) will let in less light and will result in more objects being in focus, while a large aperture (represented by a lower f-number) will let in more light and create a shallow depth of field. For instance, if I set my camera to f/12, the entire frame will be in focus. For instance, if I set my aperture to f/3.5, only the part I select will be in focus, with the rest of the image being out of focus, creating a blurry background effect.
The aperture range varies depending on the lens you have, and prime lenses (fixed focal length, for instance, 50mm) can typically go larger (and sharper) than zoom lenses, which is why they are so popular, including for me. If you want to ensure your entire frame is in focus, you should triple the number of your lens's largest aperture. For example, if your lens has an aperture of f/2.8, then you would do 2.8 x 3 = 8.4. This means that to ensure everything is in focus, you'll need to use a minimum aperture of 8.4.
Aperture f/4
Focal length
Most of the time, there will be numbers written on your lens, and one of those numbers is the focal length, for instance, 24mm, 70mm, or 200-400mm. The focal length simply determines the length of your lens. When shooting landscape photography, people will typically opt for a wide-angle focal length as it's able to capture a wider range of scenery. For portrait photography, the most common ranges are between 35mm and 85mm, as it will capture the face in the most "authentic" way possible, meaning the face will not be distorted. That’s the classic way of shooting, but as someone who doesn’t always like to follow rules, I have to mention that if you want a different feel to your photographs, feel free to experiment with the settings. For beginners, I recommend using a 24-70mm zoom lens, as it will cover the most important ranges and is also the most cost-effective and space-saving option. I’m still going strong with mine and have used it for most of my client work.
Shutter speed
The speed at which the camera closes, known as shutter speed, is crucial for capturing moving subjects. If you’re shooting someone on the go, you'll need to increase your shutter speed to ensure the subject is in focus. I always set my shutter speed to a minimum of 1/250, regardless of whether I'm photographing a static subject or not. This is because life is dynamic, and if you’re shooting mainly outdoors, there will always be some movement. Additionally, if you’re shooting handheld, your hands may shake slightly.
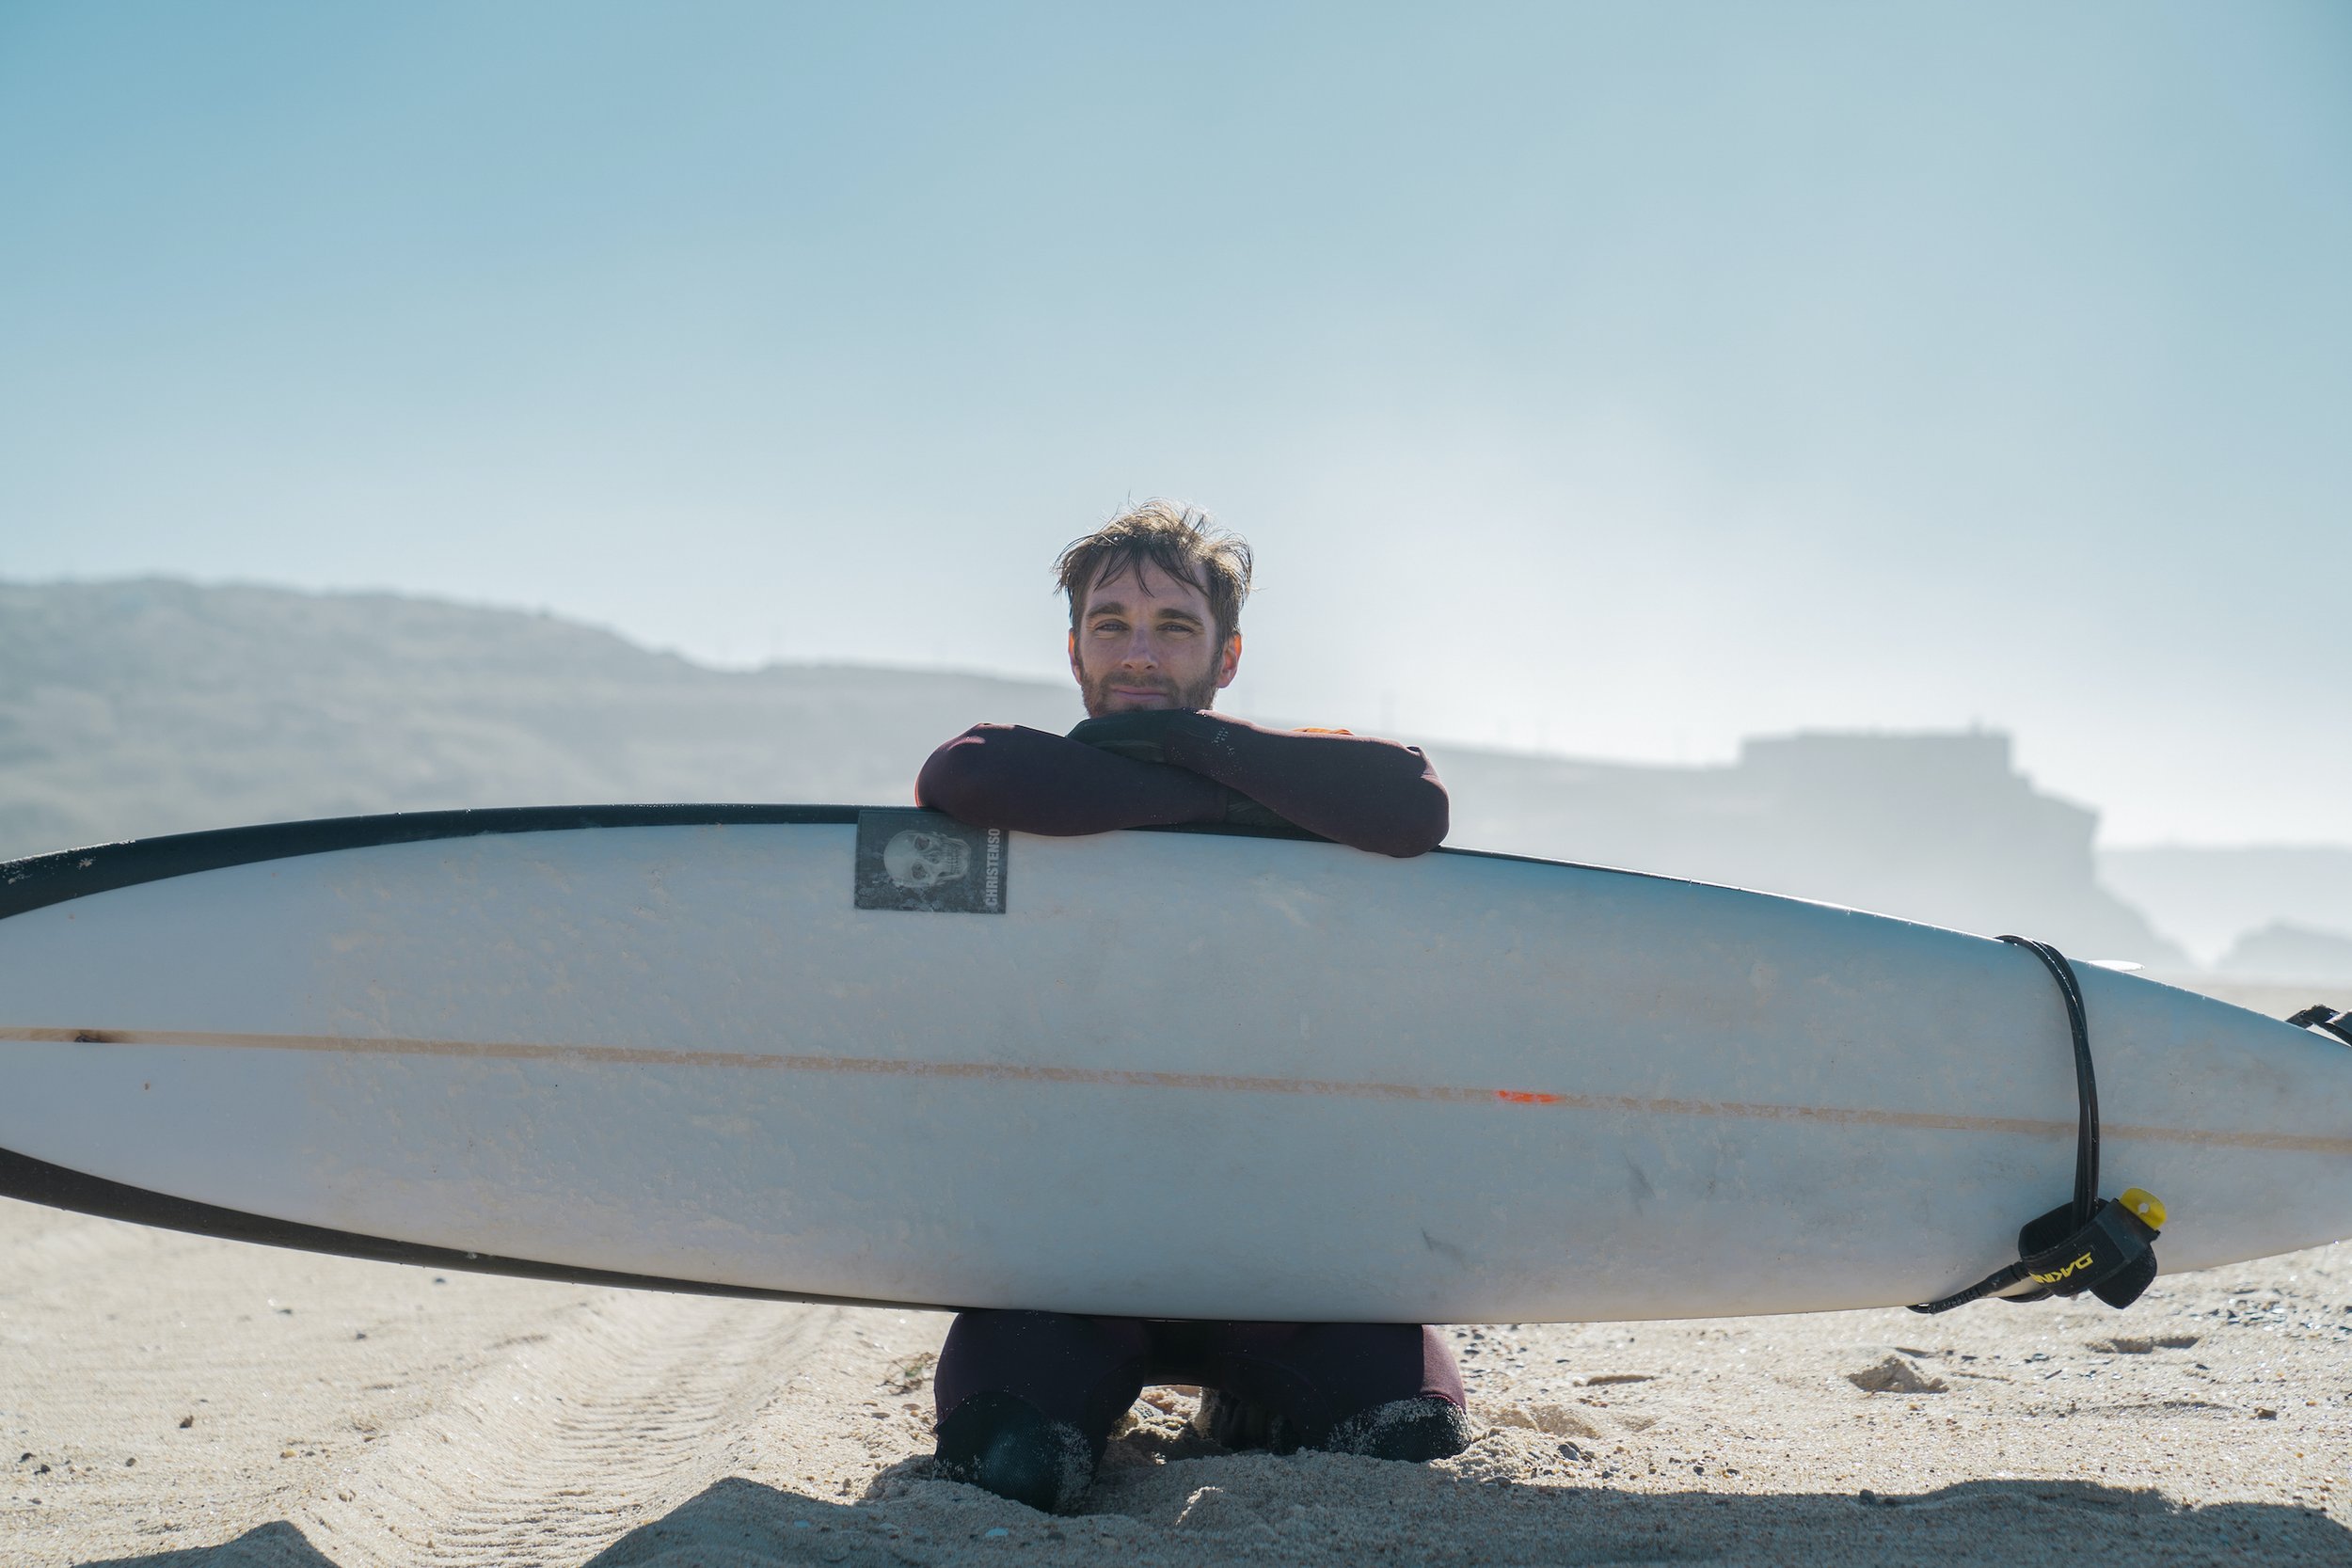
As you may have noticed, I enjoy photographing surfers, and since they move swiftly on waves, I always use a minimum shutter speed of 1/1250 or higher. In places like Nazaré, where big wave surfers ride incredibly high-speed waves, I prefer to use an even faster shutter speed of 1/2500. Shutter speed can also be used to experiment with long-exposure photography.

Shutter speed 1/1600
ISO
Your ISO setting will either brighten or darken your picture. When shooting during the day, you will most likely not need to use a very high ISO, but it becomes more important in lower light conditions. However, be careful: the higher you increase your ISO, the more noise you will introduce. Therefore, I am always cautious when using a high ISO, as I prefer my pictures to be free of graininess. There might be situations where you don’t have much of a choice; for instance, I have photographed several performances where I was not allowed to control the stage lighting (which is the case most of the time). In such situations, I increased my ISO to 12800, which is high but necessary to see the performance. I always make sure to inform my clients about this in advance so that we are on the same page.

ISO 800
These are the basic camera settings, but mastering them will give you a solid foundation for taking great photos. Of course, there are many other settings and techniques to learn, but understanding aperture, focal length, shutter speed, and ISO is a great place to start. As with anything, practice makes perfect. So, grab your camera and start experimenting with these settings!